Pages

Monday, June 24, 2013

No-Sew Pillows

Hello and Happy Summer! It's the official beginning of summer, and it's going to be busy in this household in the next two weeks. We have three birthdays, three graduations, and a wedding. With it hotter than blazes, three kids at home, and the threat of thunderstorms each day, what's one to do?
 
(Just keep swimming, just keep swimming.)
 
When I have a little spare time, I love coming up with mini-projects, like this no-sew pillow, which only cost me a couple of dollars, and only landed me with a couple of hot glue burns - Bonus!   
 
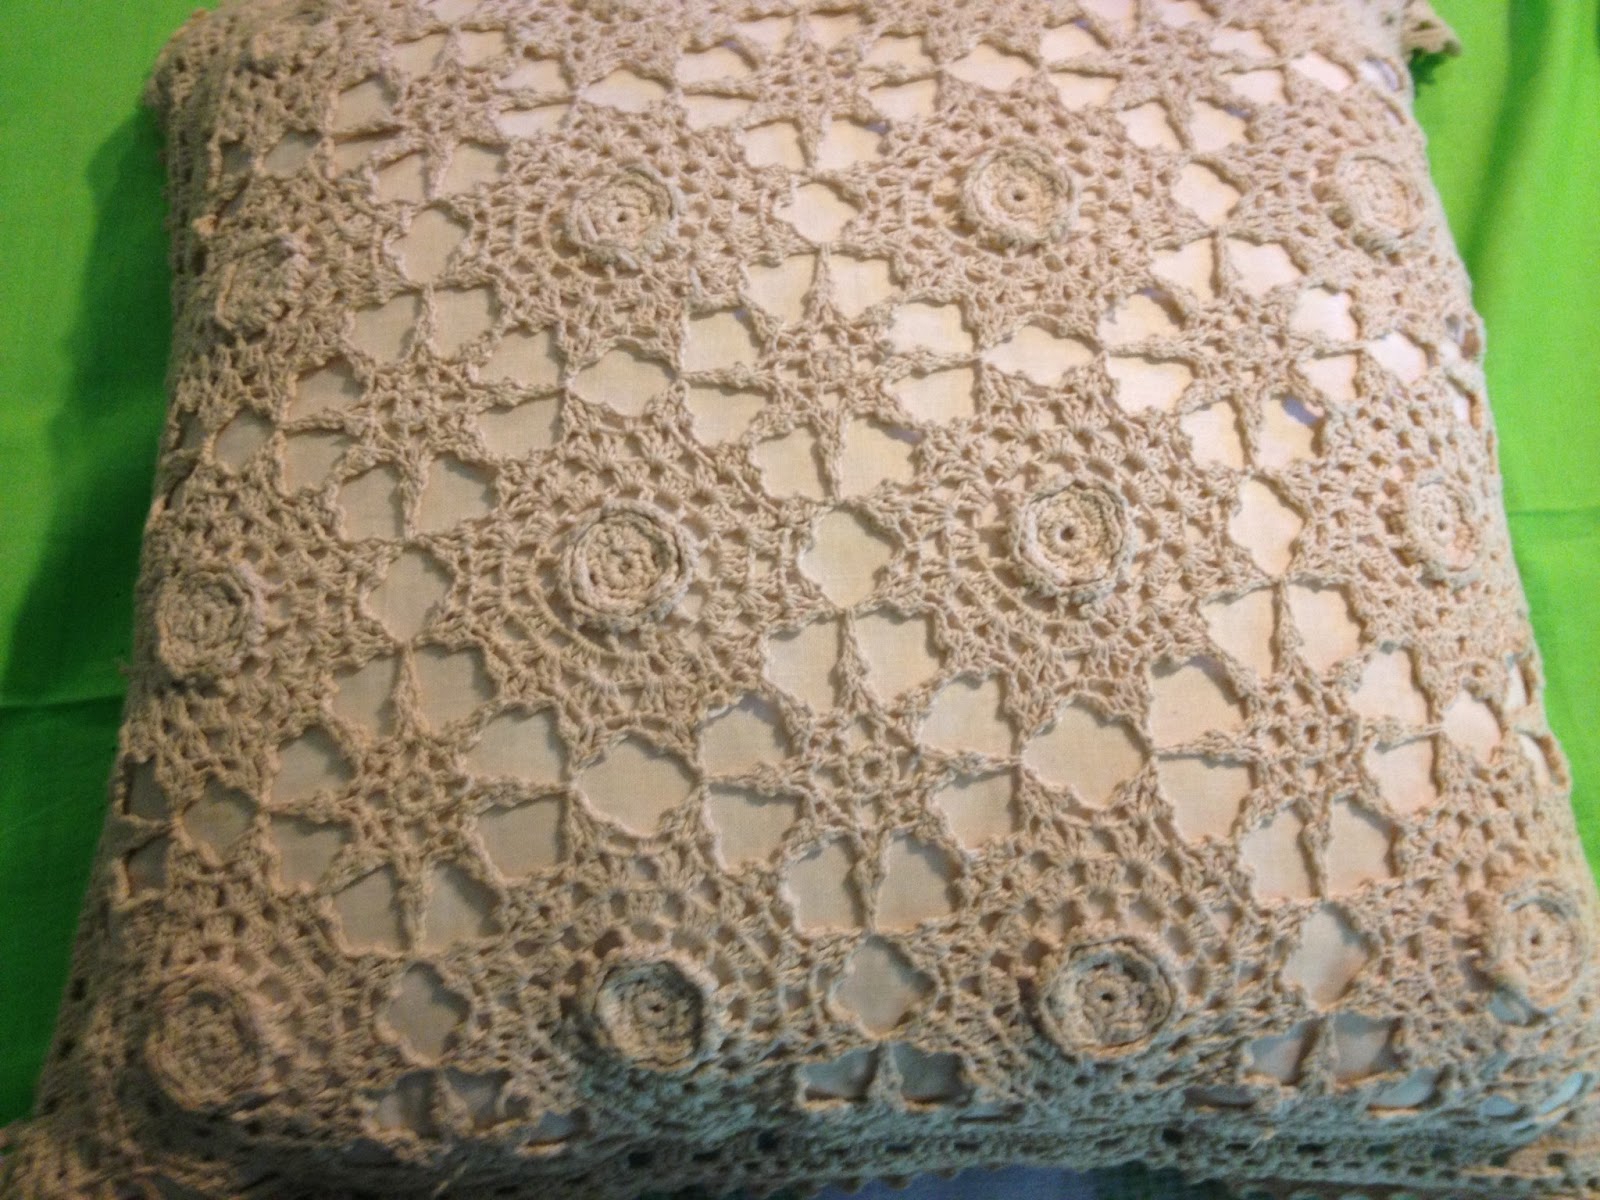
I had two pillows, that were handed down to me from my mother. I love them because, well, they are from my mother, but I had to face facts: they'd seen better days, and they were ripping. So I decided to cover them, but keep them in tact. Here's the finished product:


Enter the hot glue gun. (Seriously, is there anything you can't do with the hot glue gun?).

Here's what I did to cover my little pillows.  Here is the original pillow:


I had two napkins, edged in beads from Pier One. I originally used them for no-sew curtains in my kitchen window. You can see them here.
 
 
I placed the pillow in the middle of one napkin and covered it with the other, like so:


I turned the edges down, and simply used my glue gun to seal the edges.


 They have a new home in the Adirondack chairs on our  covered front porch.
 
 
This is such an easy way to add some color to your outdoor furniture. As long as you have some old pillows, or find some at the thrift store, you could use cloth napkins, or tea towels from the thrift dollar store. Total cost, minus glue, is $2 per pillow!
 
Cheap and Cheerful!
 
(Note that I wouldn't use these outside unless under cover.)
 
What have you got going on this week?
 
It's PARTY TIME!!!


SUNDAY


Sunny Simple Sundays Party at Sunny Simple Life
Sundae Scoop at I Heart Naptime
Think Pink Sundays at Flamingo Toes
Nifty Thrifty Sunday at Nifty Thrifty Things
Restyled Sundays at Stylish Once Again
Silver Pennies Sundays at Silver Pennies
Frugal Crafty Home Blog Hop at A Blossoming Life


MONDAY

Before and After at Thrifty Decor Chick (first Monday of the month)
 
TUESDAY
 
WEDNESDAY

THURSDAY
 
FRIDAY
 
 
SATURDAY


Thursday, June 20, 2013

On Top of Spaghetti, All Covered with Cheese...

Is that song stuck in your head now? I'm sorry!

Anyway, I'll make it up to you with a great meatball recipe. I may be going to go out on a limb here, and claiming that this recipe is for the BEST Meatballs in the history of meatballs.

I've had a lot of practice perfecting the meatball. My Lil guy and I have date night once a week. It's a night where just the two of us are home together - no Daddy, and no brothers or sisters. Meatballs are insisted upon every week, no matter what. He may not even feel like eating meatballs, but he loves to make them! So we do.

When you ask him what he wants to be when he grows up - A fireman, and a policeman, and a chef. (Yeah, he's gonna be very busy).

The one ingredient that adds tons of texture and flavor is the multi-grain bread. We discovered this recently, and only because we were out of white bread.

Try them and see what you think!

The BEST Meatballs


Ingredients: 
  • 2 slices multi-grain bread
  • 1/2 cup buttermilk
  • 1/2 lb ground pork
  • 3/4 lb 85% lean ground beef
  • 1/4 cup Parmesan cheese, grated or 1/4 cup Romano cheese
  • 1 egg
  • 1 garlic clove, minced
  • 2 tablespoons fresh parsley, chopped
  • Chili flakes (To taste)
Directions:
  1. Tear the bread into pieces and soak in buttermilk for a few minutes. Mash slightly with a fork.
  2. Combine bread with ground pork and lean ground beef. Add grated Parmesan or Romano cheese, egg, minced garlic, and parsley (and chili flakes if you use them).
  3. Divide into sixteen pieces and roll into balls.
  4. Brown them in a non-stick frying pan.
  5. Add to your favorite marinara sauce and cook until they are done.
  6. If you prefer to make these without sauce, skip the frying and bake at 350 degrees Fahrenheit for 20 minutes or until cooked through.
 
There you have it. We serve ours in sauce, over spaghetti that's been drizzled with olive oil. The little man and I both like grated cheddar cheese on top.
 
I'd love it if you would let me know what you think!

Tuesday, June 18, 2013

Painting Outdoor Furniture

Hello and welcome! I hope you're having a great week. I am too, but the weather hasn't exactly been cooperating, and therefore, my front porch progress is only plodding along.
 
 
Despite Mother Nature (now known as "The Big Meanie") trying her best to slow my progress, I did manage to finally paint the rocking chairs. I had two super comfy, but somewhat faded wood rockers, which I decided would look a little better painted black.


First, I sanded the chairs very lightly with a fine grade sandpaper - just to get off any grime and cobwebs. Then I wiped them down with a damp cloth and let them dry.
 
I took the chairs outside my favorite spot to spray paint in the back yard, and gave
them three coats of glossy black spray paint.
(I didn't primer the chairs, and it worked, but the paint did soak in quite a bit.)
 
After they had good coverage, I got in one coat of polyurethane before the rain put a damper on things.
 
 
We have the chairs on our covered front porch, but I think I'll still give them another coat of the poly once we have a guaranteed dry day.  Either way, I'm not going to wait for The Big Meanie to let me finish my project, so I'll show you now...
 
They look a lot better already, don't you think?
 

 I really like them black.

 
I am considering whether to paint the little café set black too. What do you think?


I still have to find a couple of runner rugs that I like. I specifically need runners that wont look too dirty after the kids and a large dog run all over them!
 
Once I find the rugs, I'll be completely satisfied with the porch for this summer.
Oh WAIT, not quite! We still have to paint the front door black. Ok, so it might be a while... 


 In the meantime, it's getting kinda cozy out on my porch - and notice the sun came out that night? I guess the Big Meanie felt bad.
 She's forgiven.


Party Time!


SUNDAY

Sunny Simple Sundays Party at Sunny Simple Life
Sundae Scoop at I Heart Naptime
Think Pink Sundays at Flamingo Toes
Nifty Thrifty Sunday at Nifty Thrifty Things
Restyled Sundays at Stylish Once Again
Silver Pennies Sundays at Silver Pennies
Frugal Crafty Home Blog Hop at A Blossoming Life


MONDAY

Before and After at Thrifty Decor Chick (first Monday of the month)
 
TUESDAY
 
WEDNESDAY

THURSDAY
 
FRIDAY
 
 
SATURDAY


Monday, June 17, 2013

PIECAKEN


How was Father's Day? We had a day that began with eating, and ended with a Dude Food Feast. It was a great day, but embarrassingly centered around food, food and more food. I have to say, my Mom, sister and I all kept up with the boys, and were pretty proud of ourselves.
 
We got up early and headed to our favorite country diner where eggs over easy, corn beef hash, and omelets were the main features (plus mickey mouse pancakes for the lil guy).  We then settled in at home for the day, and played with the kids.  It was raining, so it was a nice excuse to just hang around the house.
 
By dinner time, the clouds parted and it was a pleasant evening - which was a blessing because the real feast was centered around the grill.
 
Dinner was in honor of my Dad, my Hubby, and my Brother-in-Law. My Mom made an awesome spread that I would wager any Dad would be happy with. I will post some more recipes later in the week, but here's what we ate (turn away if you have a weak stomach - it's not pretty).  There were 6 adults who ate the "adult dude food feast"
 
100 little neck clams, cooked on the grill and served with butter and lemon
Hot Shrimp Dip with bagel chips
Creamy Coleslaw
Salt Potatoes (with more butter)
Corn on the Cob
Country Style Ribs with Awesome BBQ Sauce
 
AND, the silliest desert ever. 
 
PIECAKEN.
(name inspired from Turducken)
 
My new favorite word, and possibly favorite desert to make for a BBQ.
 
Last week my husband and I were watching the Bake Off. One of the contestants made a pie, baked in a cake, which was pretty rustic, compared to the other contestants elaborate cakes. Big A and I commented on what a cool idea it was, even though it got the contestant kicked off the show! 
 
So with Father's Day approaching, and an apparent instinctive need to draw attention to the fact that I'm a redneck  classy - I decided to make it. I've mentioned before - I'm not big on baking. I simply don't like to measure. So I figured, why bother to make it from scratch?
 
So here's what I did:
 
Yup, a frozen pie, and a box cake.
 
I decided go with a "black forest" type of Piecaken. So I bought a cherry pie, and a chocolate cake. I don't even own a cake pan, so I borrowed that from my Mom. We decided a Spring form pan would work the best. We also spent the week chuckling over the work piecaken.
 
So first things, first, follow the directions for baking the pie and let it cool. I covered the edges of the pie during cooking because I didn't want it too brown.
 
 
Then follow the directions for the cake batter.


Pour 1/2 of the batter in a spring form pan. CAREFULLY plop the pie upside down on the batter. Pour over the other half of the batter. (I didn't take any pictures at this point, because I was just so excited to get this in the oven.)


Bake according to the directions on the box, however, I took the cake out about 10 minutes early and a toothpick came out clean. (Notice my mad baking skills?)

I then frosted the top with cream cheese frosting. You couldn't tell this wasn't a normal chocolate cake, and the surprise was half the fun.

Now here are the pictures. (I took them with my cell because we ate at my parents, I forgot my camera. So I apologize for the quality. You get the idea either way.)


It was a total mess! But it was delicious, and everyone laughed when we cut open the cake and there was a pie inside!

Time to Party! Come join in the fun!


SUNDAY


Sunny Simple Sundays Party at Sunny Simple Life
Sundae Scoop at I Heart Naptime
Think Pink Sundays at Flamingo Toes
Nifty Thrifty Sunday at Nifty Thrifty Things
Restyled Sundays at Stylish Once Again
Silver Pennies Sundays at Silver Pennies
Frugal Crafty Home Blog Hop at A Blossoming Life


MONDAY

Before and After at Thrifty Decor Chick (first Monday of the month)
 
TUESDAY
 
WEDNESDAY

THURSDAY
 
FRIDAY
 
 
SATURDAY